*If you have any questions that aren't answered in this post, please leave them in the comments section where I do my best to answer all Alaska related questions directly!
My Essential Alaska Travel Resources :
There are a lot of travel companies out there, but some are better than others. These are my favorite websites and resources to help plan an incredible trip to the 49th State. For flights, I recommend using WayAway or Hopper to compare the cheapest dates to travel to Alaska. Car rentals, arguably the best way to see Alaska, are best through Discover Cars! I always use AGODA for hotels. They have an easy-to-use platform where you can compare the best rates. To keep cell phone service if you're traveling internationally, I always use Airalo’s easy to purchase eSIM’s (no installation required). For fun things to do, I recommend Viator to find the best tours in the area, otherwise Klook also does the trick. Just in case, Safetywing is the insurance I always use for travel insurance. Lastly, my Alaska packing list for your travels to the Last Frontier. Where to See Wildlife in Alaska
Overall, the top areas to see wildlife up close while you're in Alaska would be Valdez, Homer, and the National Parks - Denali, Kenai Fjords, Katmai, and Lake Clark. I’ve had the most luck in these areas and have been able to see many different species on one visit, which is why I recommend heading to these areas if you're looking to see wildlife on your trip to Alaska. However, no matter what kinds of animals you encounter in Alaska, there are certain rules you should follow.
The most epic way to see Grizzly's in Alaska :
- Katmai National Park Bear Viewing Wildlife to See in Alaska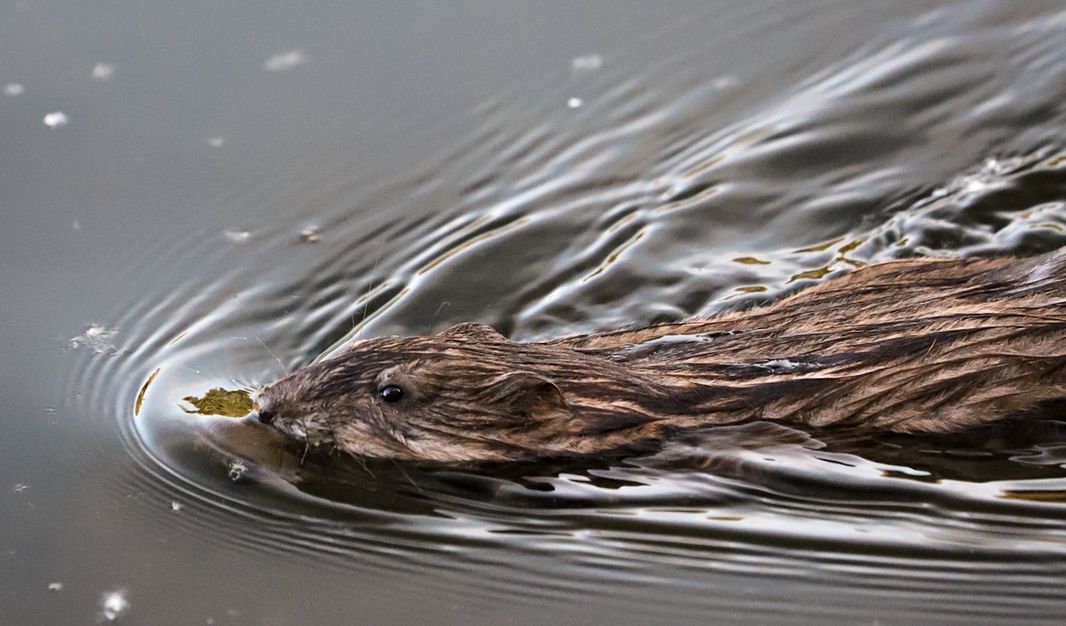
1. Beavers
These little mammals can definitely be a hit and miss, although there’s a possibility to see them on any lake with a beaver dam - I’ve only seen them 3 times in Alaska. Keep your eyes peeled when you pass by any lake - if you see a dam or a round ball of fur swimming around - chances are it's a beaver. 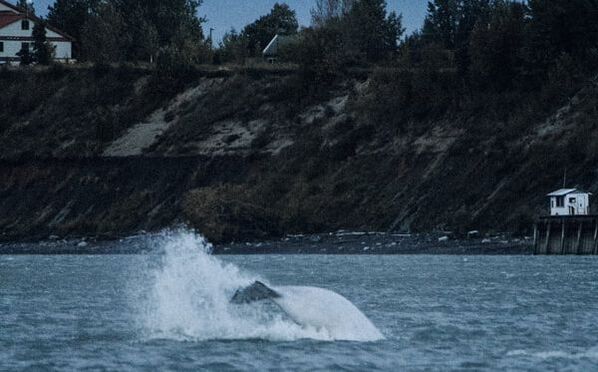
2. Belugas
Turnagain Arm is your best bet - there are plenty of pull offs along this stretch of road all the way to the Portage turn off - make sure to check the tide schedule for when it’ll be at it’s highest and look for white little humps in the water. This sounds easy, but often times the waves can be pretty tricky. The best times to see Belugas in this area are in the Spring and Fall. I highly recommend checking out the Beluga Alliance for updates on when they’re spotted in certain areas!
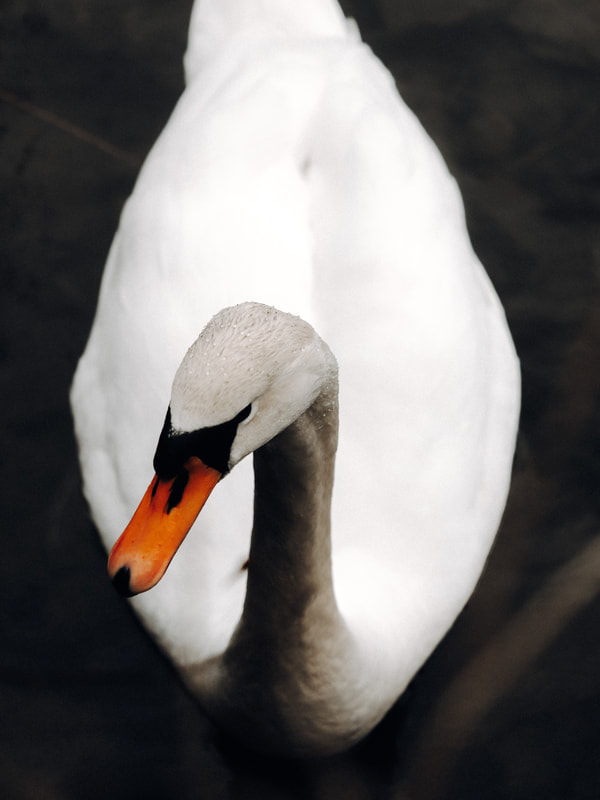
3. Birds & Swans
If you want to stay near Anchorage, then your best bet on birds (including swans) is in Potters Marsh, or really any lake you pass by during the warm summer months. Potters Marsh has a great boardwalk that makes it super accessible and easy to walk while there are plenty of species of bird life in the area. If you drive along it on the Old Seward Highway there are a few pull-offs where the Swans usually hang out very close by, and make sure to watch out for their cygnets in the Spring!
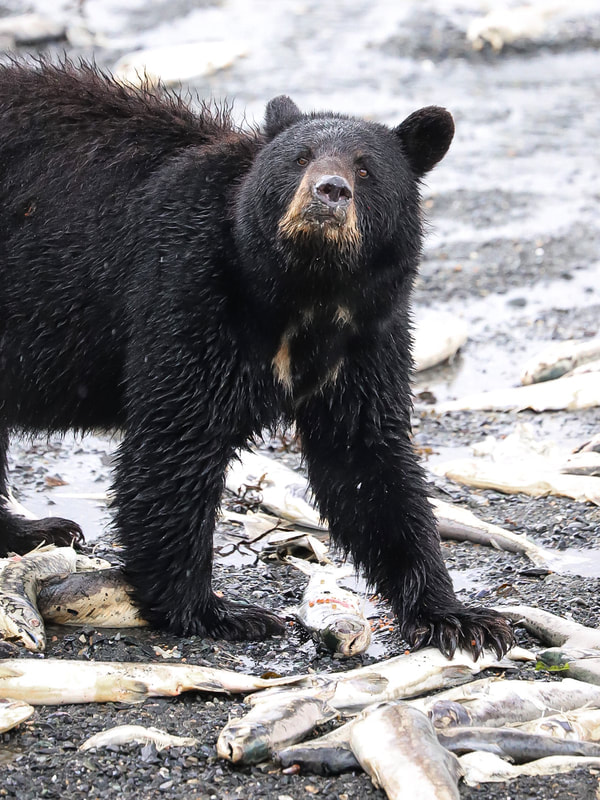
4. Black Bears
The best luck I’ve had with Black Bears was in Valdez. There was one day during the end of a salmon run at the end of the Summer where I saw a total 14 black bears in a single day, including two little cubs! Although this might be a little irregular, there's a great chance you can see them in the Valdez area. I’ve also had some luck in Eagle River near the Nature Center, but to be completely honest black bears can pretty much pop up anywhere in Southcentral Alaska.
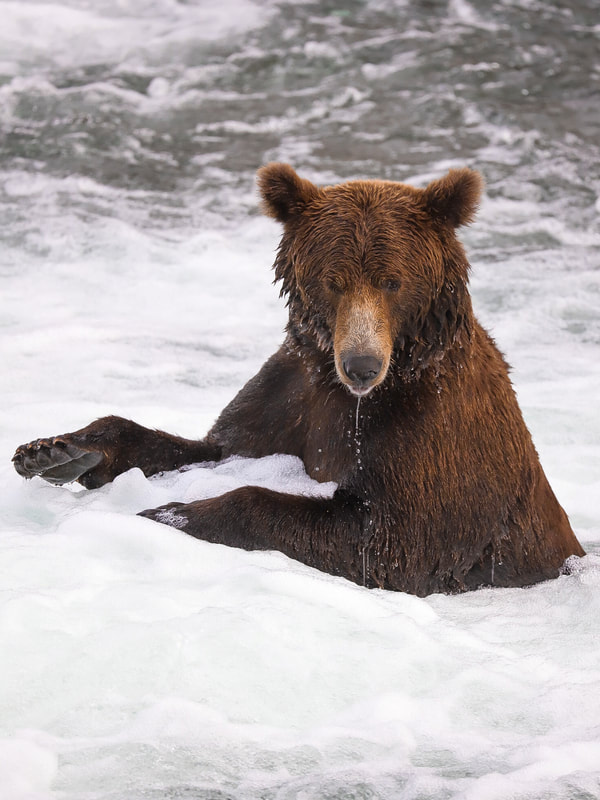
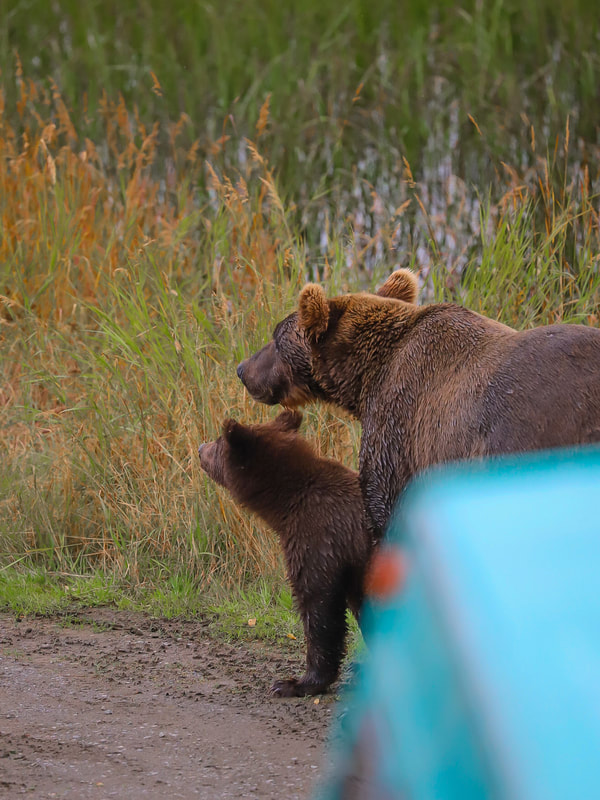
5. Brown Bears/Grizzlies
No question about it I would have to say Katmai National Park, this entire adventure is truly incredible. We visited at the end of the Summer, however no matter when you go you're 100% guaranteed to see them in this area - and chances are they'll be pretty close. You can also take a tour out to Kodiak or Lake Clark National Park to see brown bears, all of which guarantee that you'll see brown bears on your trip. If these trips are a little out of budget or just take up too much time during your trip to Alaska, then your next best bet would be to visit the Girdwood area or Denali National Park.
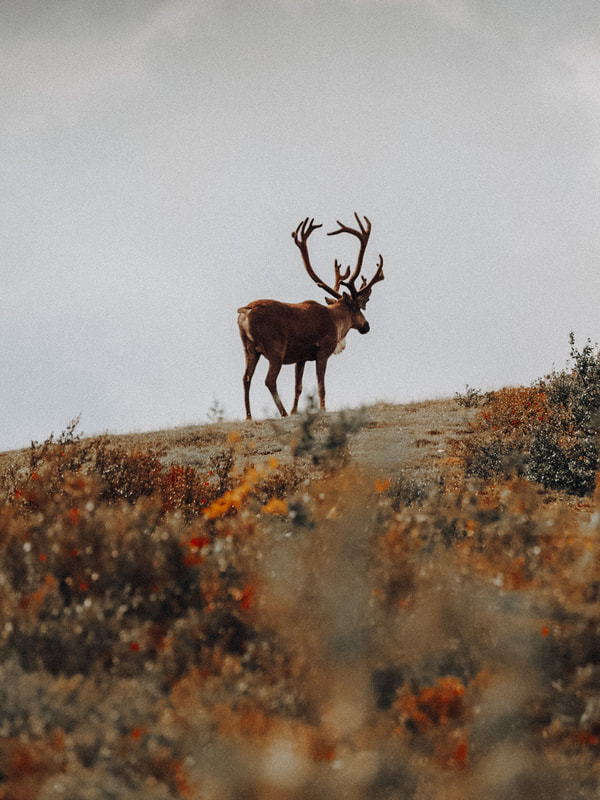
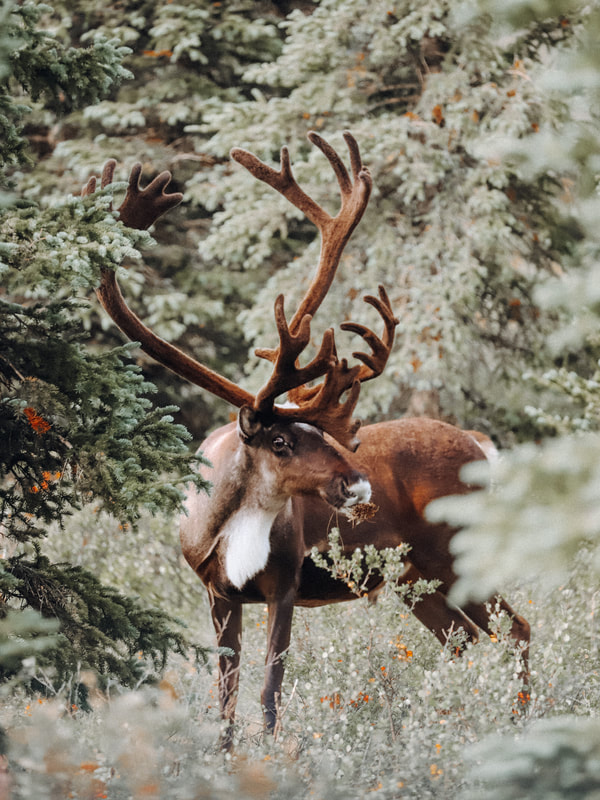
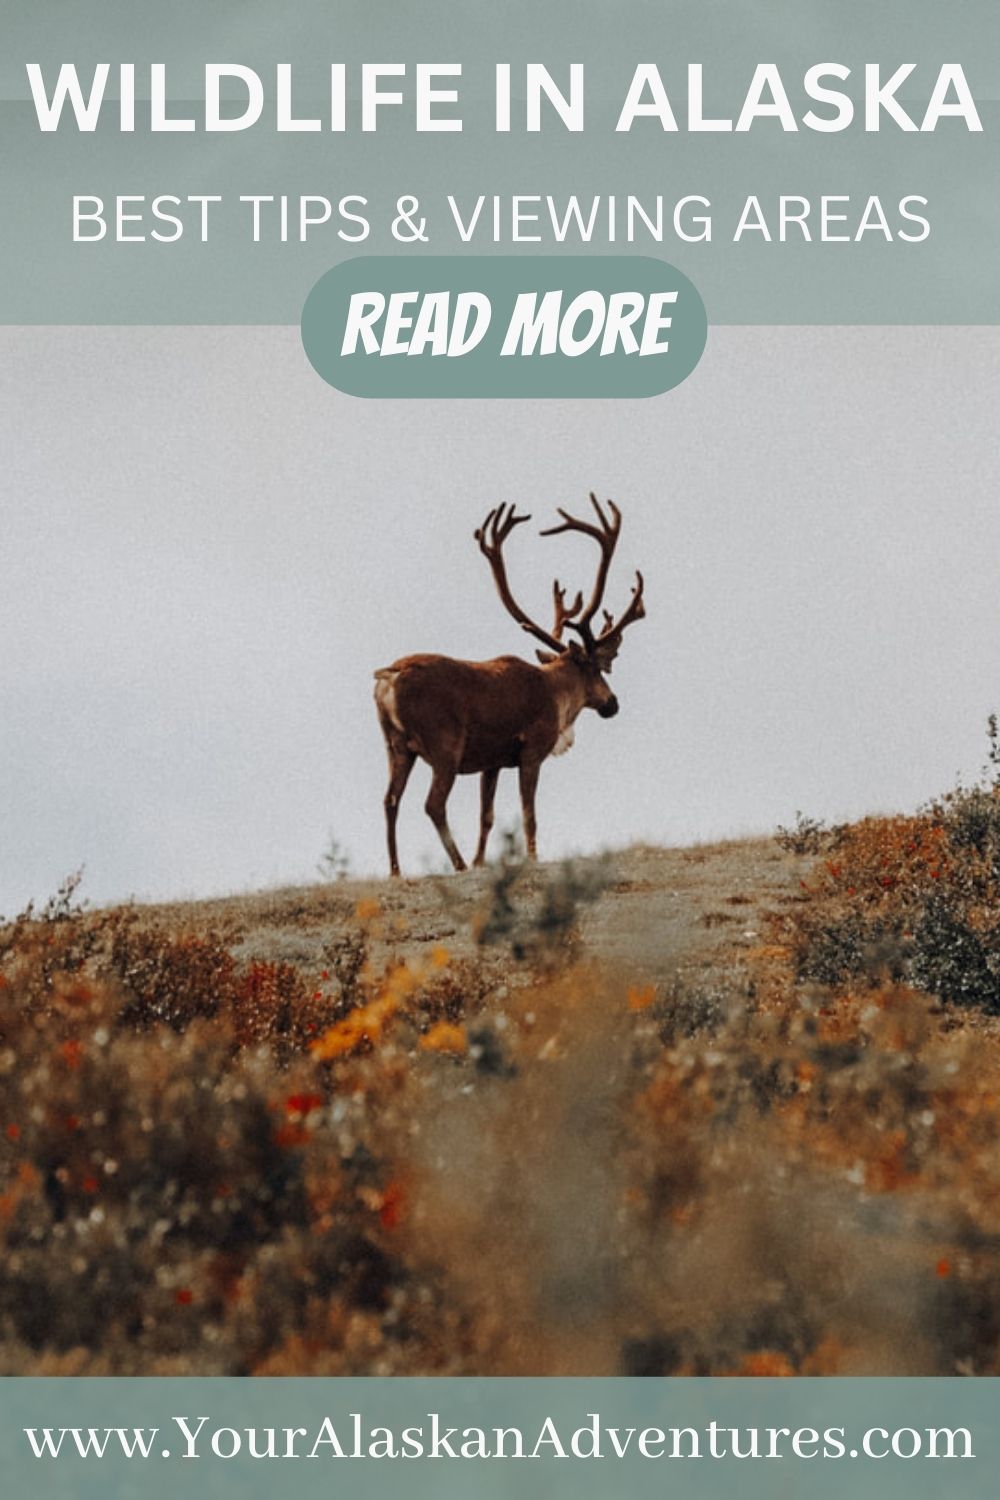
6. Caribou
The majority of Caribou I’ve seen in Alaska have been in two locations. The first and most accessible is near the Denali National Park area. Here, I’ve seen Caribou during both the winter and summer months, and fairly close to the road. The second area I’ve seen Caribou is up in Utqiagvik (also called Barrow), which will be a little more expensive and time consuming to get to. Many of the Caribou here are hunted by locals, and chances are you’ll see just as many racks and hunted Caribou vs. live Caribou. If your time in Alaska is short and you're really looking to see Caribou, then I recommend heading towards Denali National Park. (p.s. the difference between reindeer and caribou is that reindeer are typically domesticated while caribou remain wild and free)
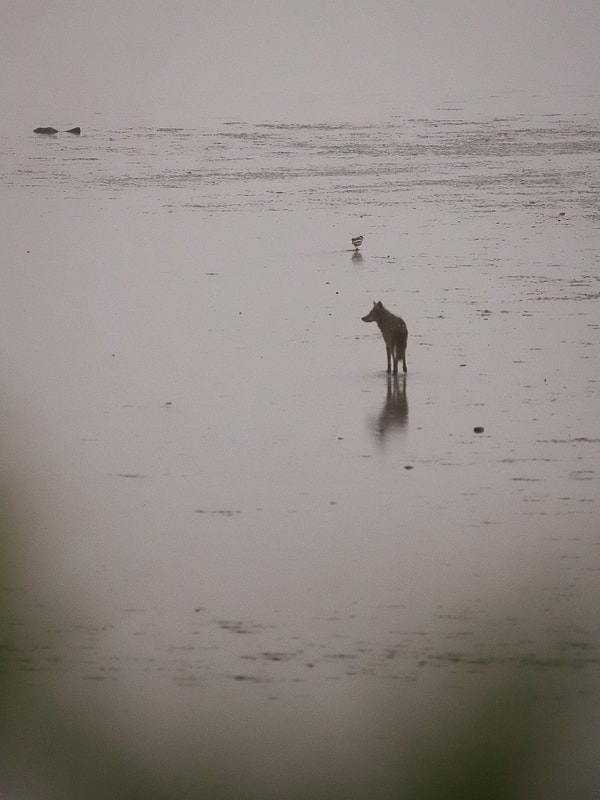
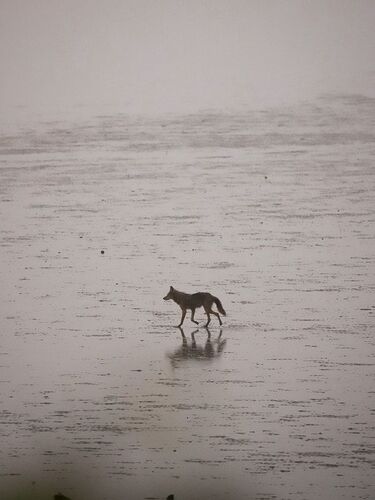
7. Coyotes
I’ve only seen one Coyote while in Alaska, and similar to many of these animals - we spotted it while in Valdez. My husband and I Googled it just to make sure, but it turns out that yes, there are Coyotes in Alaska. While in Valdez searching for bears, I happened to look out at the empty mud flats to see a little Coyote running along hunting at low tide - so you have a chance! I've also had friends see them near the Fairbanks area!
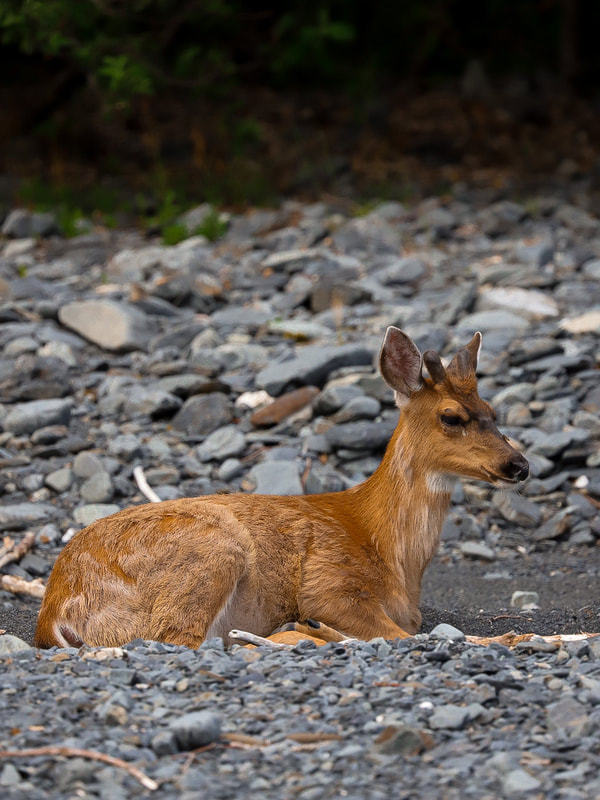
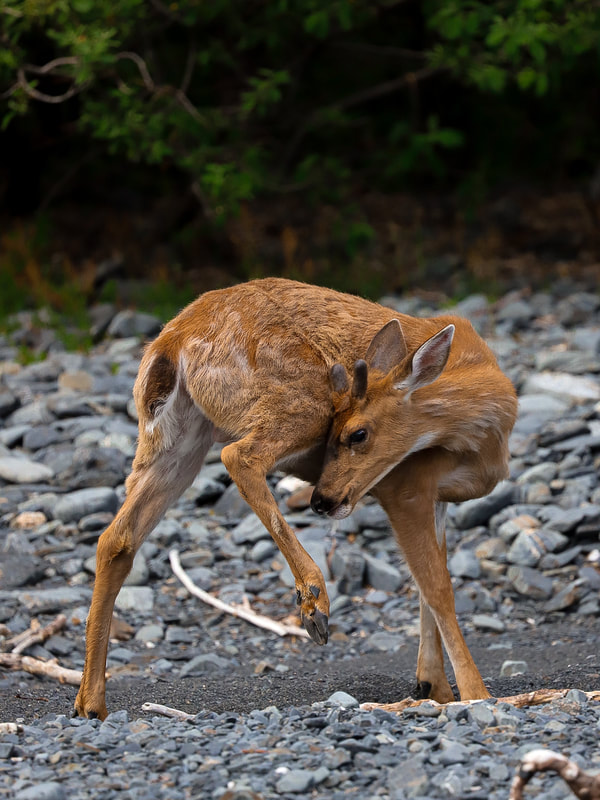
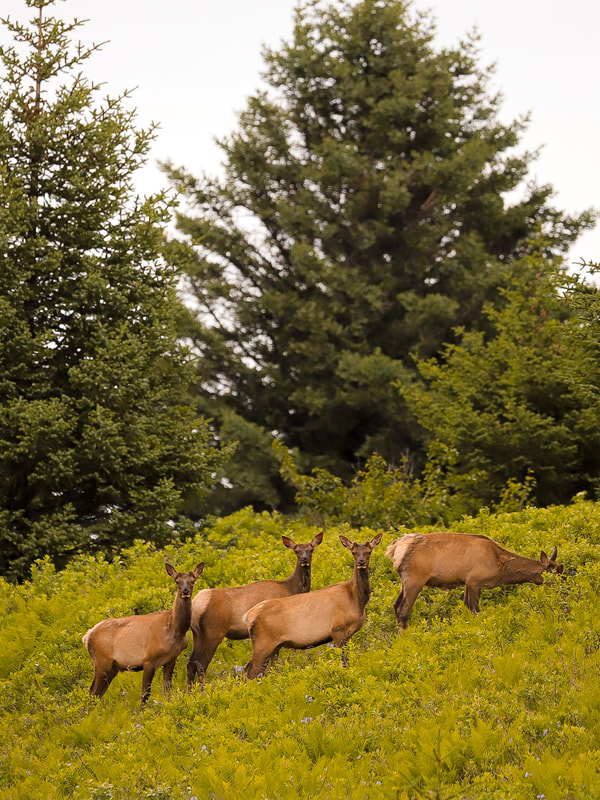
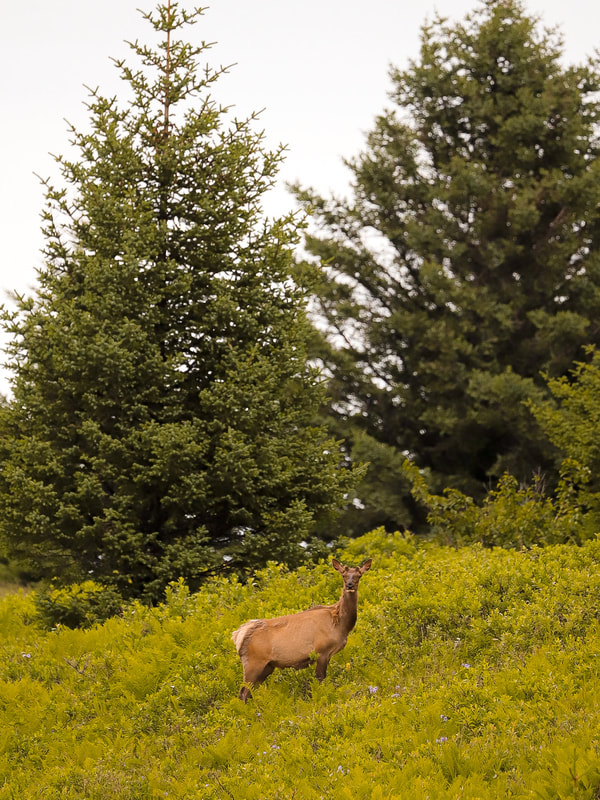
8. Deer
Contrary to what many people think, there are actually not that many deer in Alaska. I've actually only seen them once, while on the island of Kodiak, although it's said they're also located throughout the Southeast of Alaska. Surprisingly, Alaska has a unique species of deer - the Sitka Blacktail Deer - which is usually smaller than the Whitetail or Mule Deer that are more commonly seen in other areas of the United States.
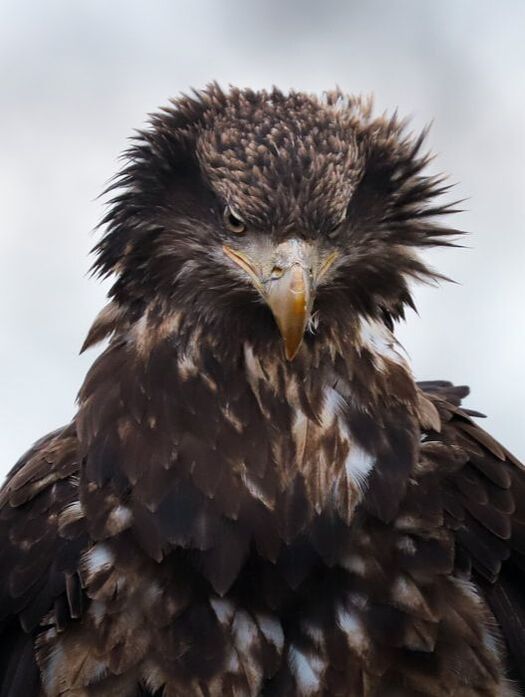
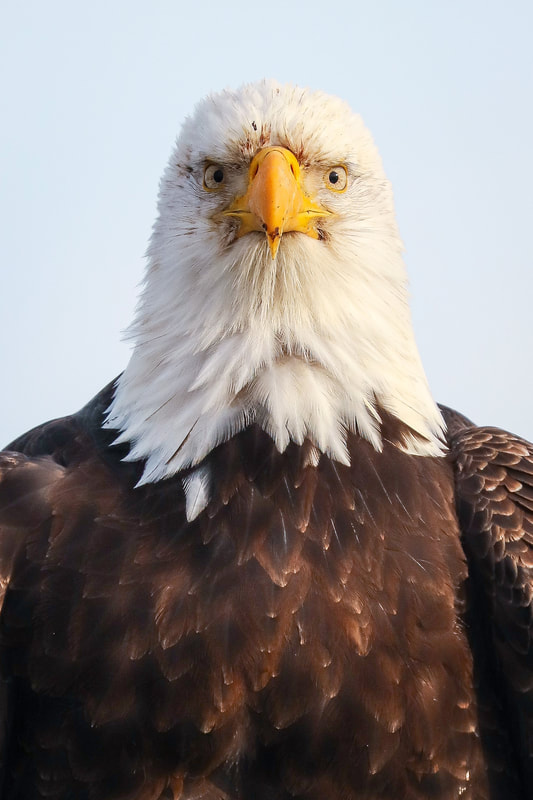
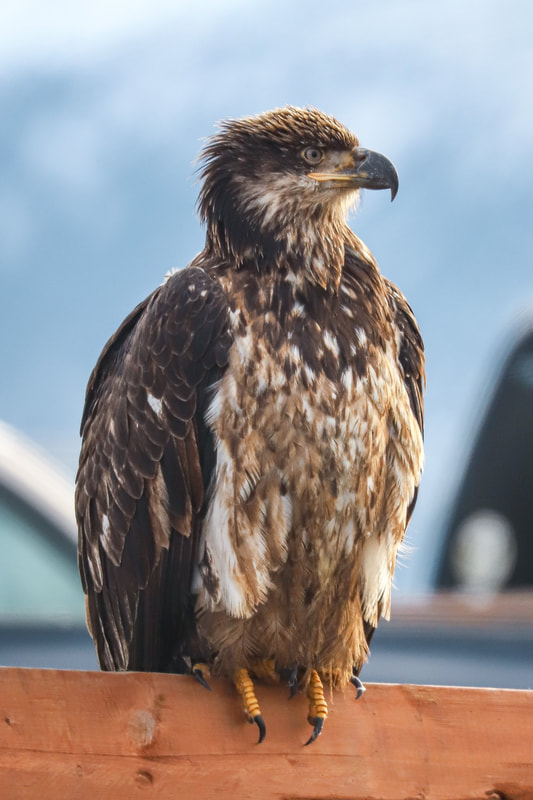
9. Eagles & Hawks
Pretty much anywhere and everywhere, seriously. Alaska is known to have the largest concentration of Eagles compared to anywhere else in the United States, so chances are good that you'll see one fairly close or at the very least flying above. We seen the most concentrated amounts of Eagles and Hawks in Homer near the marina, but if you happen to visit during salmon runs then they'll often hang out anywhere near a concentration of fish and fishermen.
10. Elk
I’ve only seen Elk in Alaska one time, and usually when we tell people about it they don’t believe us - however when Googled it says that Elk are found on the island of Kodiak and in Southeast Alaska. I'll be honest, when my husband and I first saw them, we were shocked and definitely surprised!
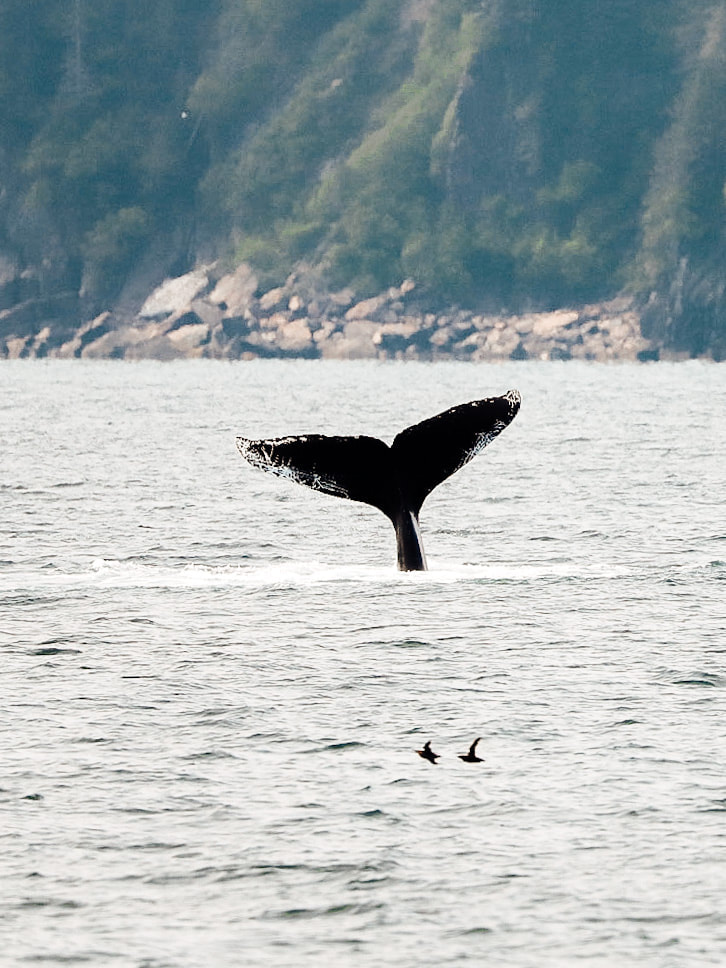
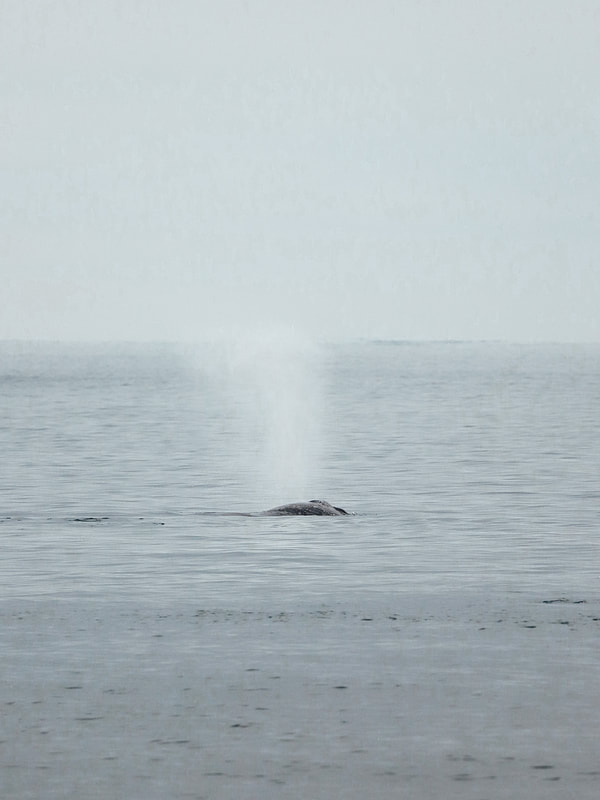
11. Humpback Whales
I’ve been lucky enough to see Humpbacks multiple times in Alaska, however the most incredible experience (and my all time favorite whale experience) was when we went out of Juneau. On the excursion our boat saw about 20+ whales in just 4 hours - and they were all shockingly close! Absolutely incredible! If you're unable to make it to Juneau, we've also seen humpbacks on marine wildlife tours out of Seward and Valdez, and I've linked my favorites below.
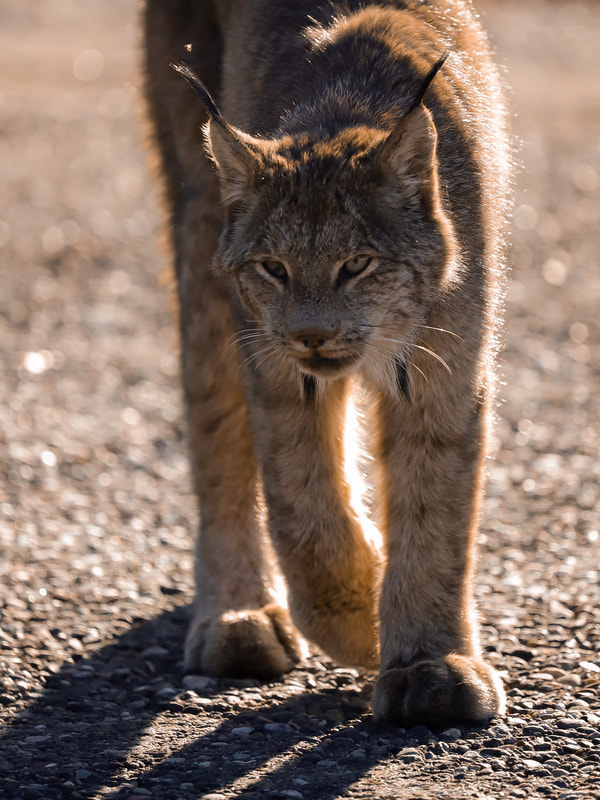
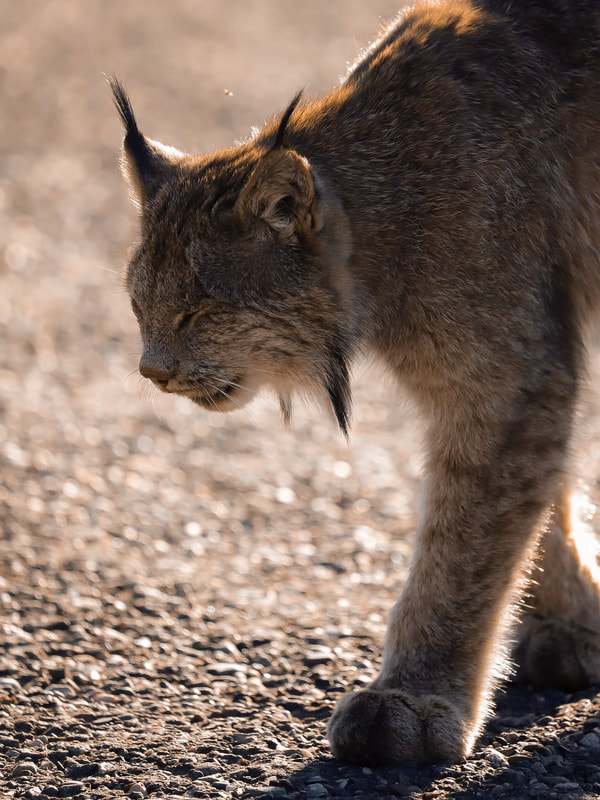
12. Lynx
I’ve only seen a Lynx once while in Alaska, right outside Denali National Park. It was only out near the road for less than a minute, but a cool spotting none the less! I would recommend looking in the Denali National Park area for your best bet, but lynx can be pretty hard to spot!
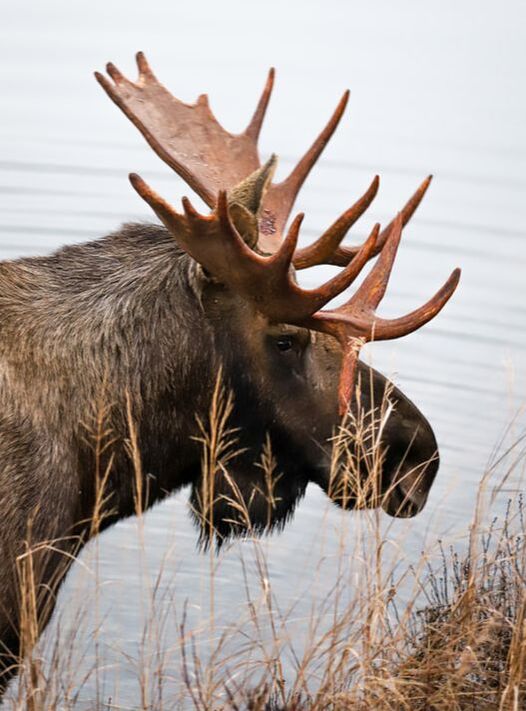
13. Moose
Just like the Eagles, you’ll see Moose just about everywhere. Truth be told I’ve seen them most commonly in Anchorage near Earthquake Park and Kincaid Park. I think it’s necessary to say more people are injured by moose in Alaska than bears, and that it is essential to give them their distance and DO NOT TRY TO FEED THEM. Moose can charge at up to 35 miles per hour, and it's going to hurt.
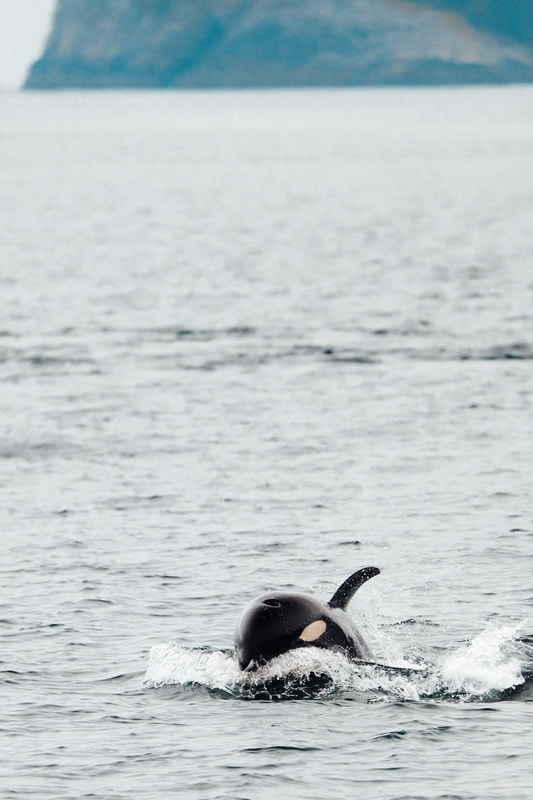
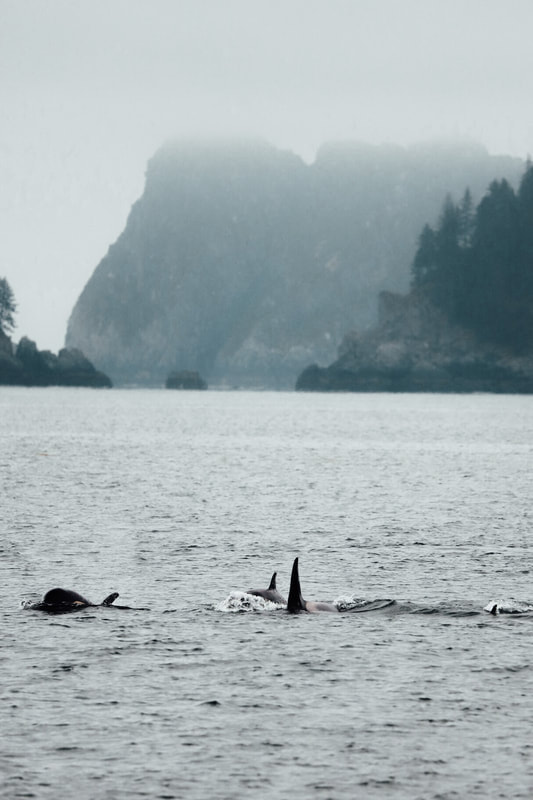
14. Orcas
Also known as the Killer Whale, I’ve been fortunate to see these guys on almost every marine wildlife tour we’ve been on, including the famous orcas from the AT1 pod that survived the Valdez oil spill. However my favorite interaction was on a tour with Major Marine Tours out of Seward, not only did our boat see multiple pods of orcas, but a few of them swam at us and right under our boat! It was truly incredible! 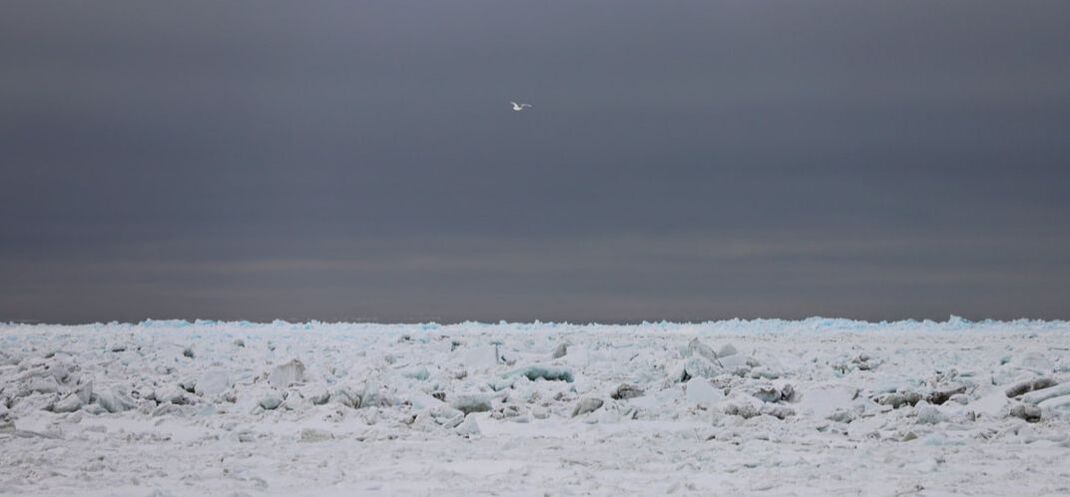
15. Polar Bears
Unfortunately, this is the one animal on this list that I haven't been lucky enough to see yet while in Alaska. My husband Tyler and I did make a trip up to Utqiagvik (also called Barrow) to try our luck at spotting one of these majestic guys in the Spring, but we weren’t quite lucky enough. After doing quite a bit of research, our best recommendations would be to try heading up Utqiagvik or Kaktovik, which is where Polar Bear tours were held prior to Covid, as far as I've heard, these have not resumed.
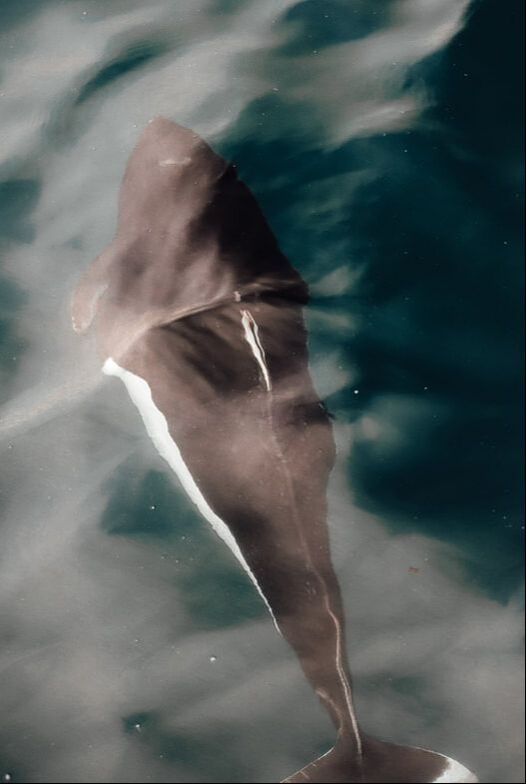
16. Porpoises
These guys are probably the most fun to see and interact with in my opinion! I’ve seen them just 3 times - all on different boat tours, but it is an absolute blast when they decide to swim with the boat and play. They will normally be in a pretty large group, and even though every single time we saw them was in a different location, you have the chance to see these guys on any marine wildlife tour in Alaska.
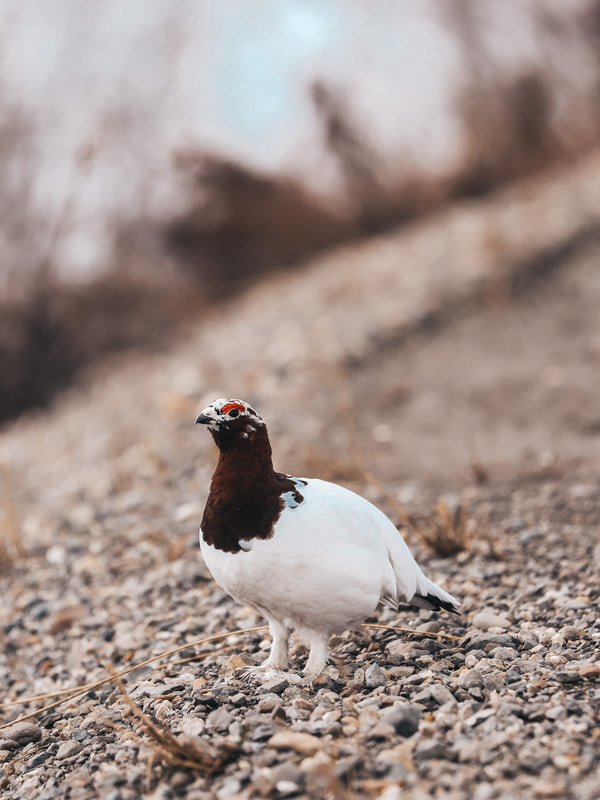
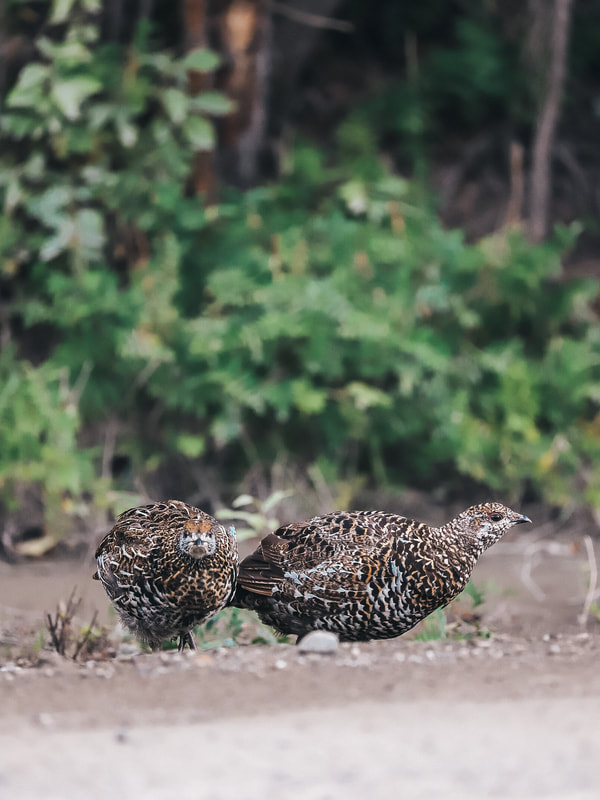
17. Ptarmigans
As Alaska’s state bird, these little fellas needed their own spot on this list - and are what my husband and I like to call "wild chickens." I first saw these guys while in Denali, and they change color depending on the season. Keep your eyes open for little fluff balls on the side of the road and you’ll probably see them too! 
18. Puffins
Another one of my favorite animals to go searching for, I still haven’t gotten to see them up close yet. In the past we’ve seen them on different marine wildlife tours out of Seward and Valdez, but they're quite small and skittish, so chances are you won't be able to truly see them up close on these boat tours. 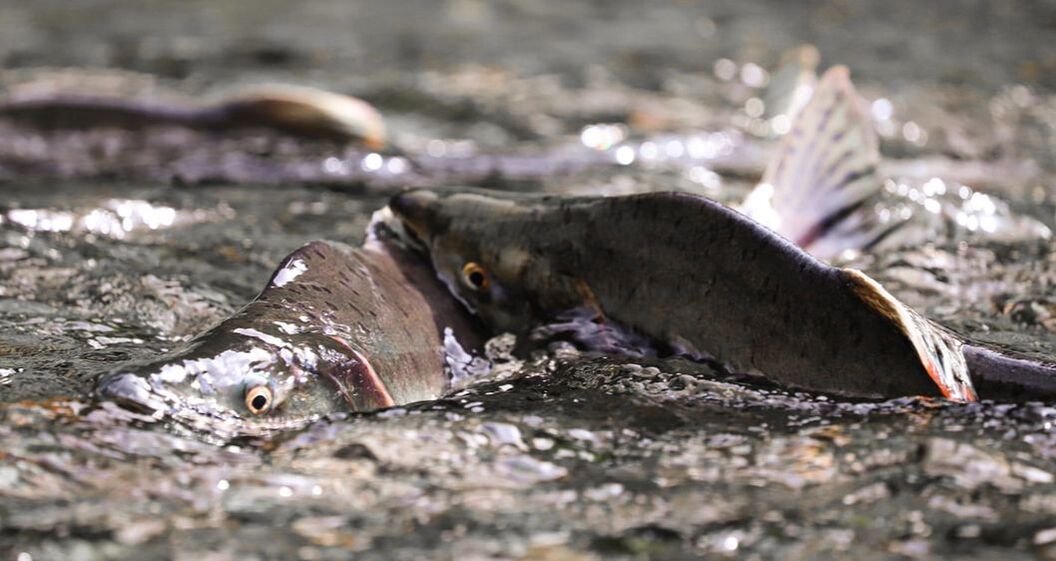
19. Salmon
If you visit in the Summer chances are you’ll be able to see at least one of many Salmon runs in Alaska's streams and rivers. Although it entirely depends on the time of the salmon runs, which changes a bit each year, we’ve often seen large groups of salmon in the clear water at Ship Creek in Anchorage and Bird Creek along Turnagain Arm.
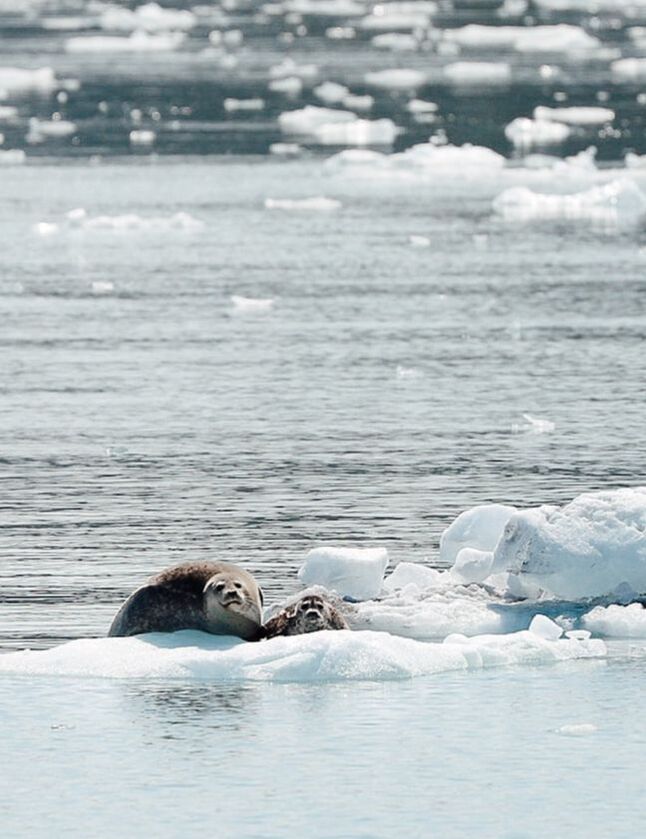
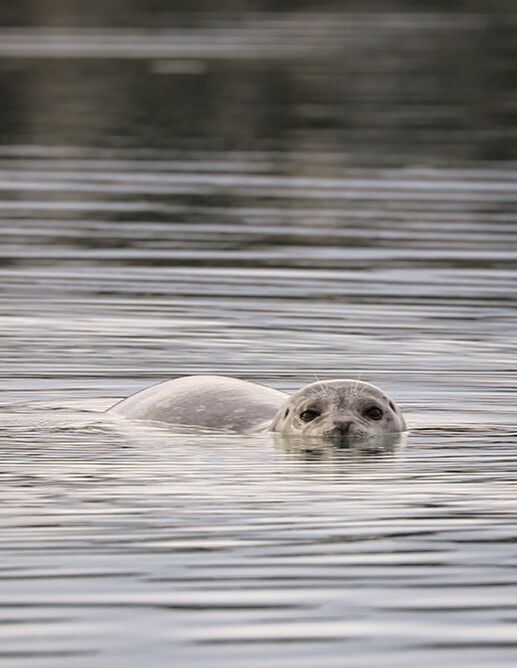
20. Seals
These sneaky little guys can be in many different areas of water, typically often seen in different coves, river mouths or other calm areas of water like in a bay. I’ve seen them multiple times in Valdez near the Salmon Hatchery, in Whittier along the coastline, and in Seward along the beaches - as well as on all the marine wildlife boat tours we've taken. If you're hoping to see them on a piece of glacier like the photo above, you'll have to take a glacier boat tour.
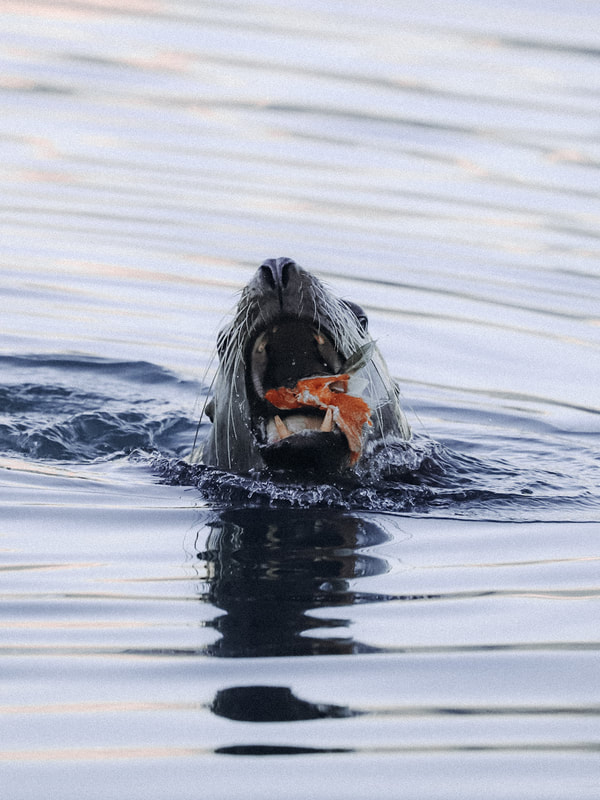
21. Sea Lions
Although you’ll see Sea Lions on any marine wildlife tour in Alaska, my personal favorite Sea Lion experience is seeing them at the Valdez Salmon Hatchery. Here, you can see them swimming through the river, chasing the fish, bellowing at each other, taking a nap, chasing away seagulls, and sometimes even making their way all the way up to the waterfall base. If you're in a coastal town with a marina, then make sure to keep your eyes peeled too because they can often show up in these areas to feed!
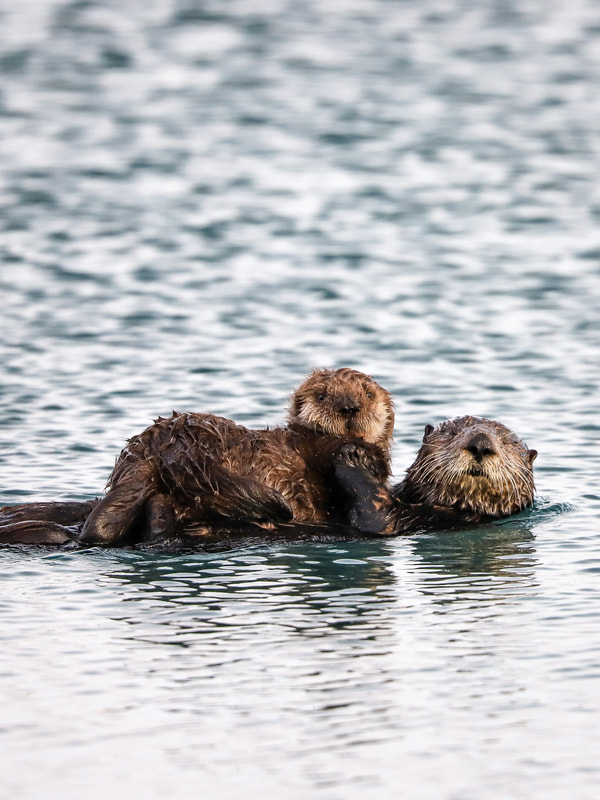
22. Sea Otters
These little guys are some of my favorite animals to see in Alaska. Even though they are truly much bigger than you would think, I personally think they are just the cutest. I’ve had the best opportunities for viewing these guys in Homer and Seldovia around the marinas - but you’ll be able to see them in most harbors and marinas if you take your time and don't scare them away. During the Spring time you even have the chance to see baby otters being carried on their mom's bellys.
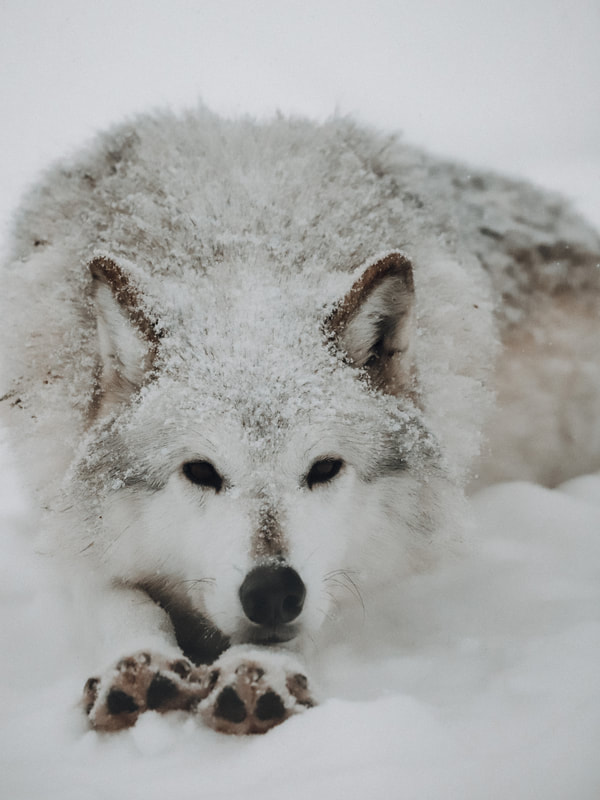
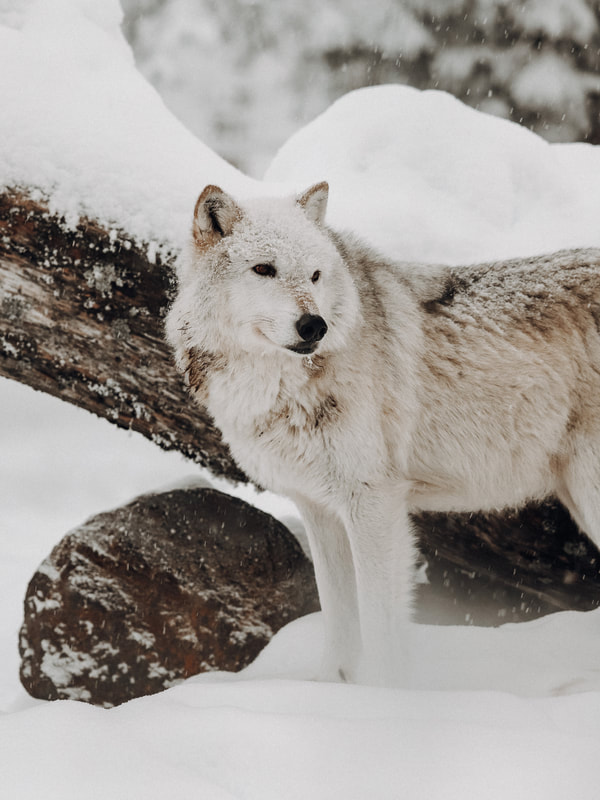
23. Wolves
Even though there are over 11,000 wolves in Alaska, they can be pretty hard to see, and I've only ever seen one in Alaska - in Denali National Park. If you really want to see them up close while you’re in Alaska, then the only place that would guarantee a close up would be the Alaska Wildlife Conservation Center.
Other Alaska blog posts you might be interested in :
-> 15 Easiest Alaska Glaciers to Visit -> Where to Rent Bear Spray in Alaska -> 7 Best Tours in Alaska
Pin this list of Alaska Wildlife for later!
|

I'm Deborah👋🏼
In 2021 my husband Tyler convinced me to move to Alaska. After living there for a year (then leaving to take a year long world trip) we realized there was no place we loved more. So now we're back - and I'm here to share all my best tips and hidden gems to make Your Alaskan Adventures the best they can be. My favorite travel & outdoor gear is available right here! Use this link to shop all my favorite Alaska necessities! 
This blog and all content is free to you, however, when you purchase through referral or affiliate links on our site I may earn a small commission with no extra cost to you! --- Learn more here about our affiliates and privacy policy. --- Links look like this, and are tours and products I only personally recommend! --- Join Travel Payouts or Rock Porch to earn affiliates on your own sites! Planning a trip outside Alaska? Check out our blog Raarup Adventures for international vacation ideas or Deborah in Korea for adventures in South Korea! Popular Blog Posts :

|


|
©COPYRIGHT 2024. ALL RIGHTS RESERVED.
Privacy Policy
|

|
|